
TL;DR: How to Use Framer in 2026
Framer is a visual website builder (not just a design tool) that lets you design, build, and publish production websites without writing code
The editor works like Figma: drag-and-drop frames, components, text, and images onto a canvas. Everything you build is a live website, not a prototype
Key features include a built-in CMS for blogs and dynamic content, responsive breakpoints for mobile and tablet, animations and interactions, real-time team collaboration, and one-click publishing
Framer is used by companies like Perplexity, Miro, and Scale AI, and was adopted by 40% of Y Combinator's latest batch
At Goodspeed, we have built 200+ products on Framer, Bubble, and n8n with a 5.0 Clutch rating. If you need expert help at any stage, book a free consultation.
Getting Started with Framer
Before we dive into the basics of Framer, let's first discuss how to get started with the tool. Here are the steps to follow:
Create a free Framer account. Go to framer.com and sign up. Framer runs entirely in the browser, so there is nothing to download. You can start building immediately on the free plan.
Start a new project. From your dashboard, click "New Project." You can start from a blank canvas or choose from Framer's template library. Templates give you a working site structure you can customize, which is the fastest way to learn.
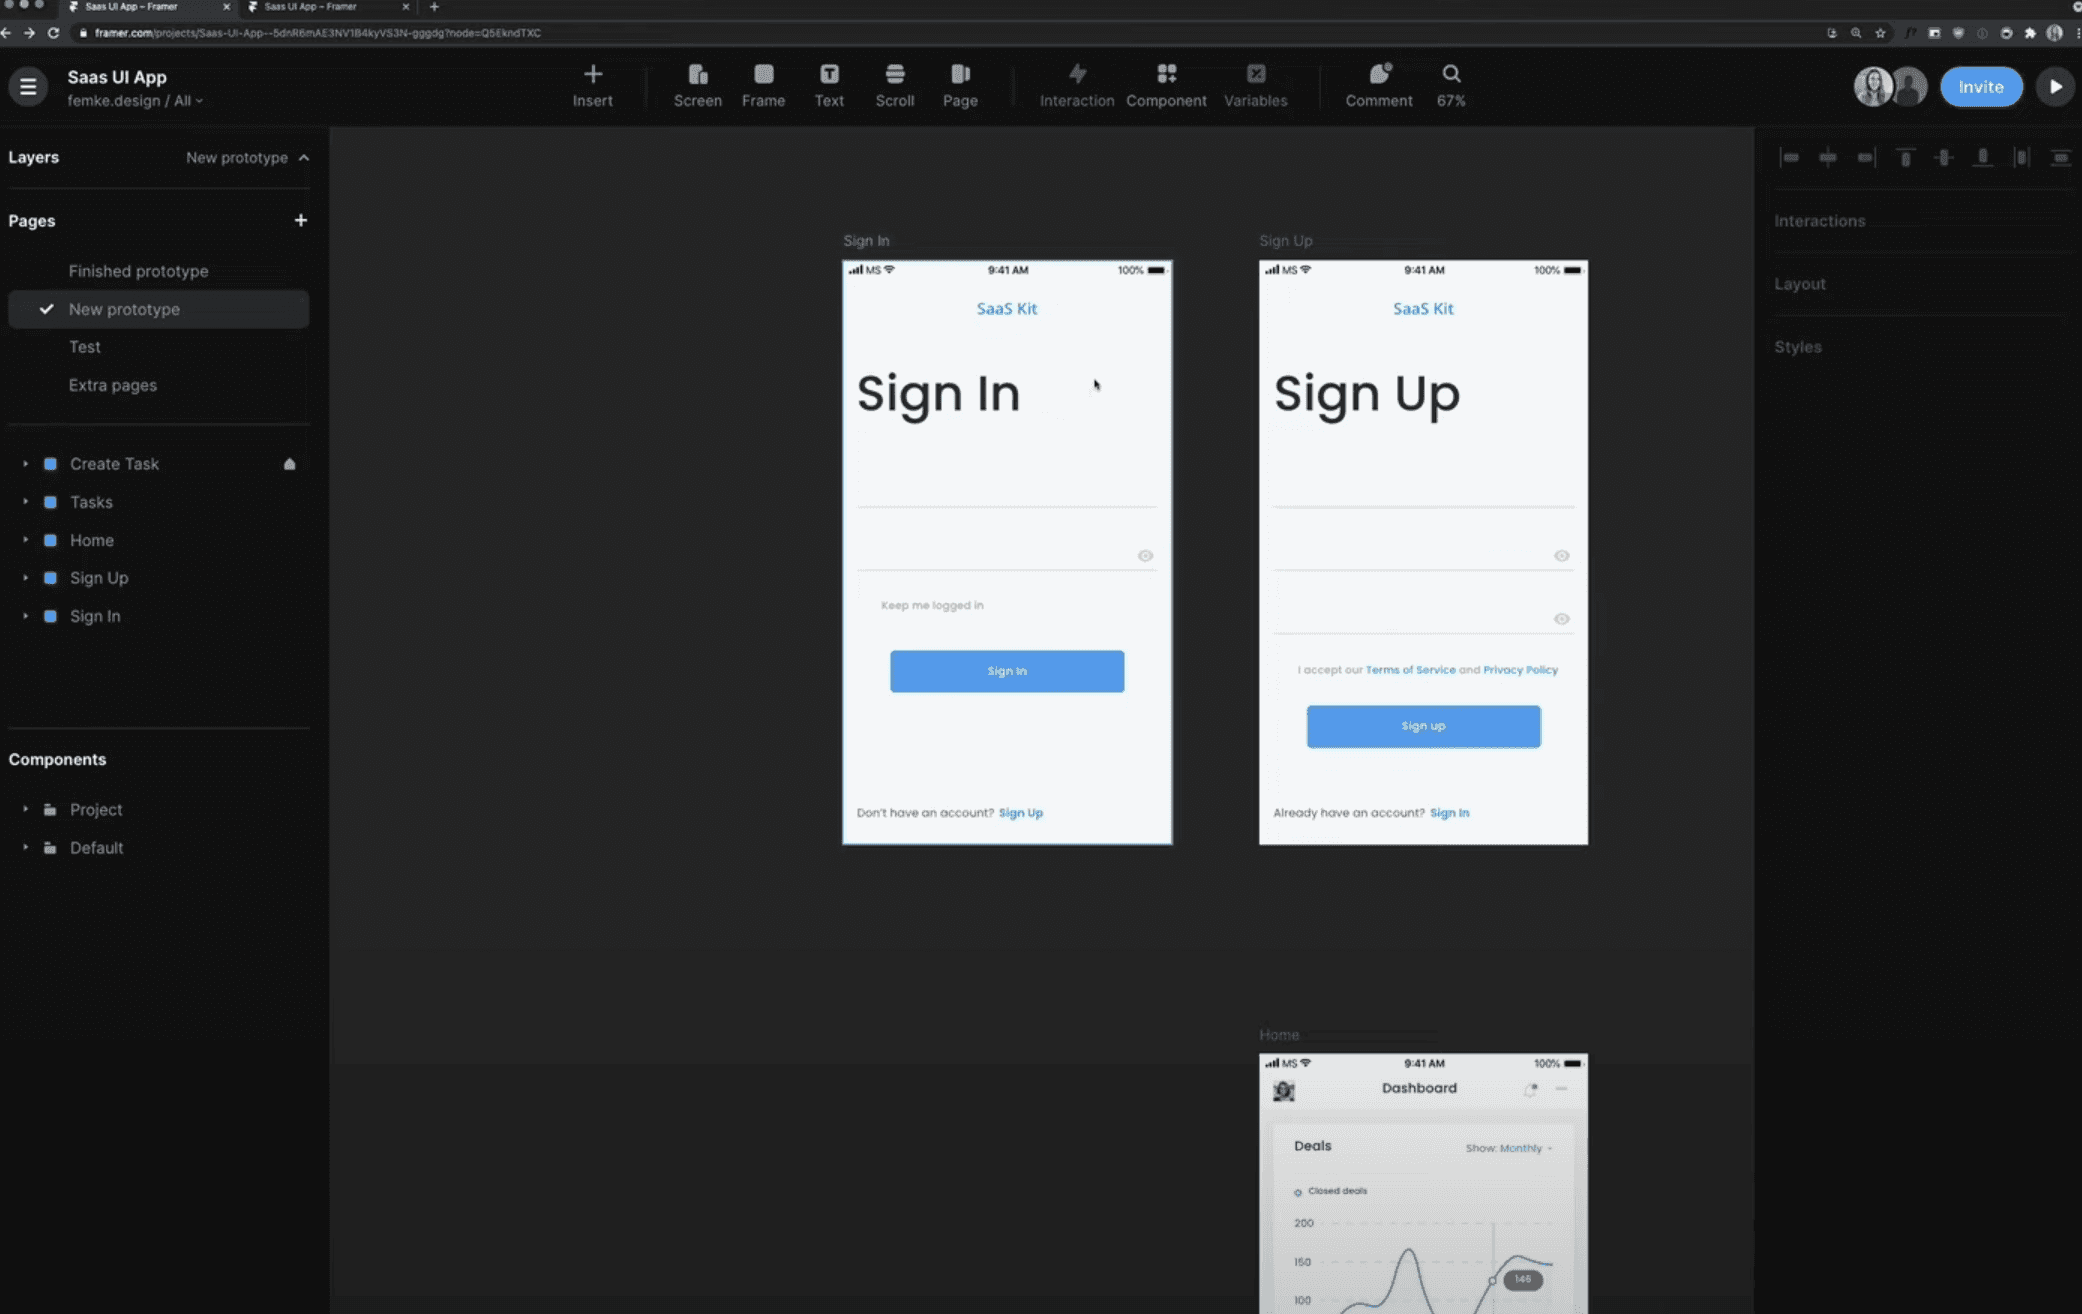
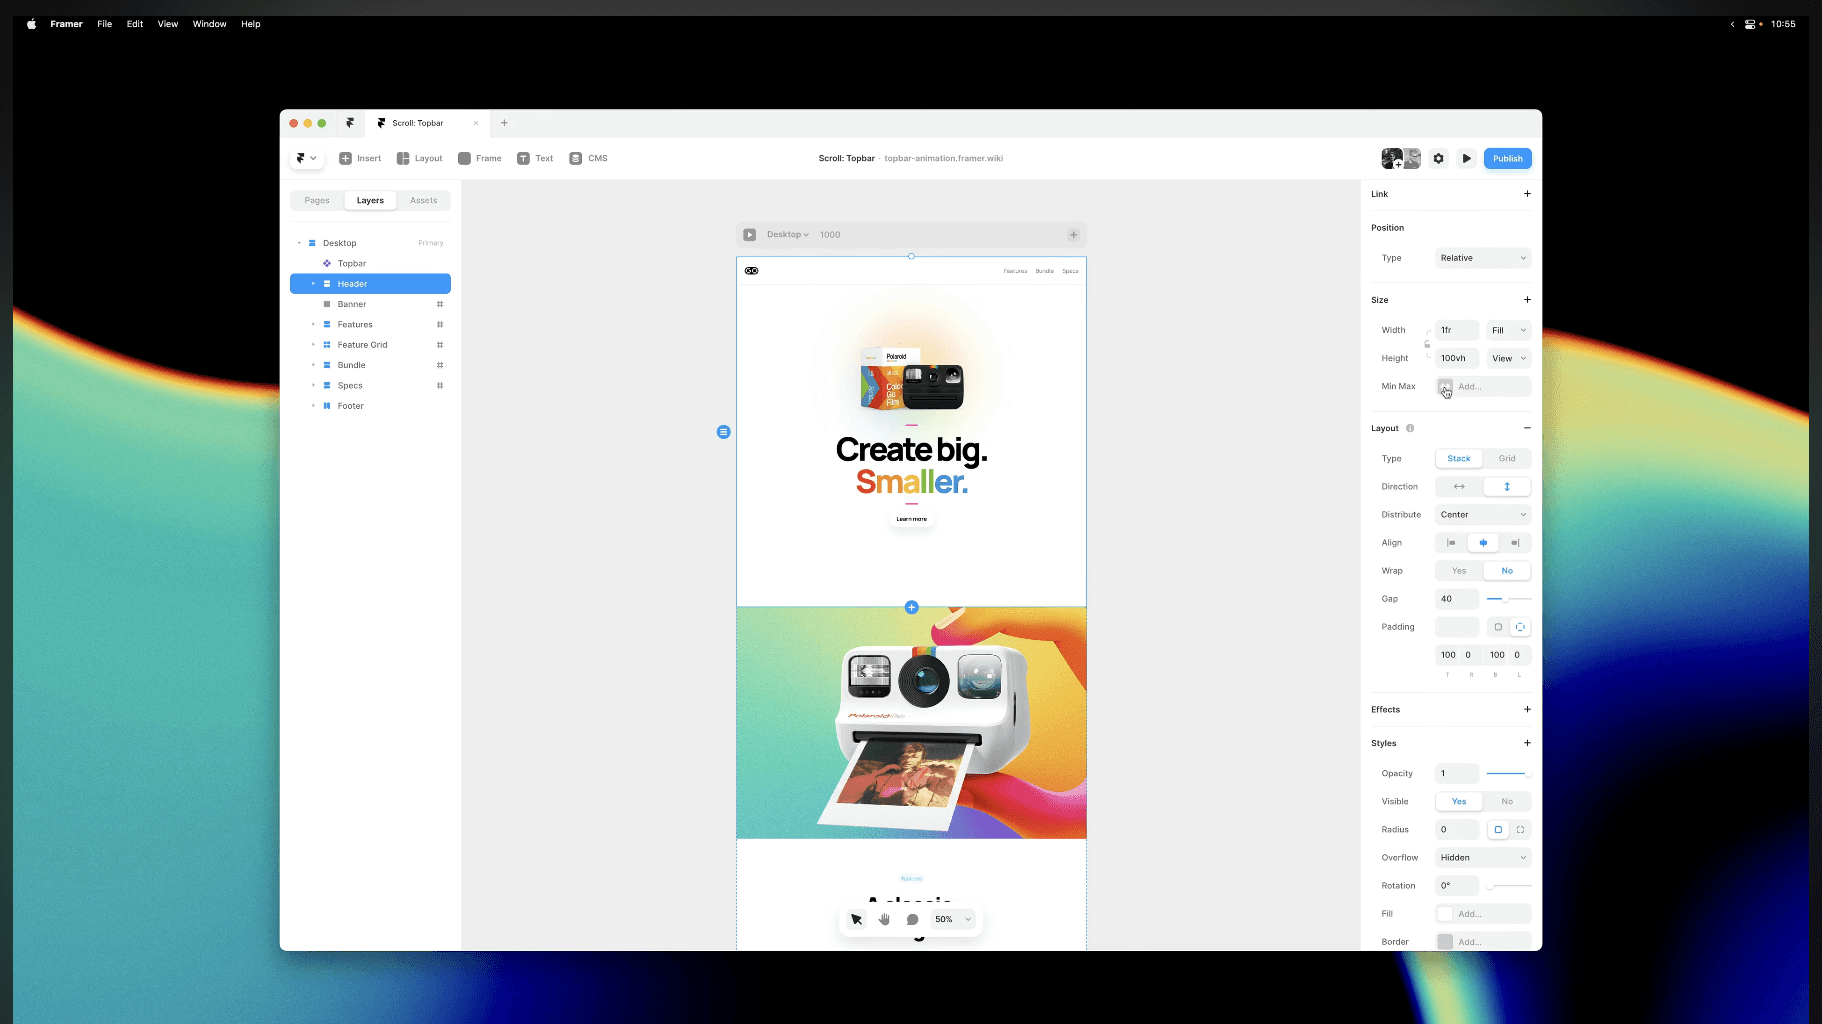
Learn the interface. The editor has three main areas: the canvas (center) where you design, the layers panel (left) showing your page structure, and the properties panel (right) for styling and settings. If you have used Figma, the layout will feel familiar.
Understand the key concept. Everything you build in Framer is a live website. There is no separate "preview" or "export" step. What you see on the canvas is what gets published. This is the biggest difference between Framer and traditional design tools.
Building Your First Page
With your project open, you are ready to start building. Framer's editor works like a visual code editor: every element you place on the canvas becomes part of a live website. Here is how to get started:
Now that you have Framer up and running, let's start with the basics of designing your first project. Here are the steps to follow:
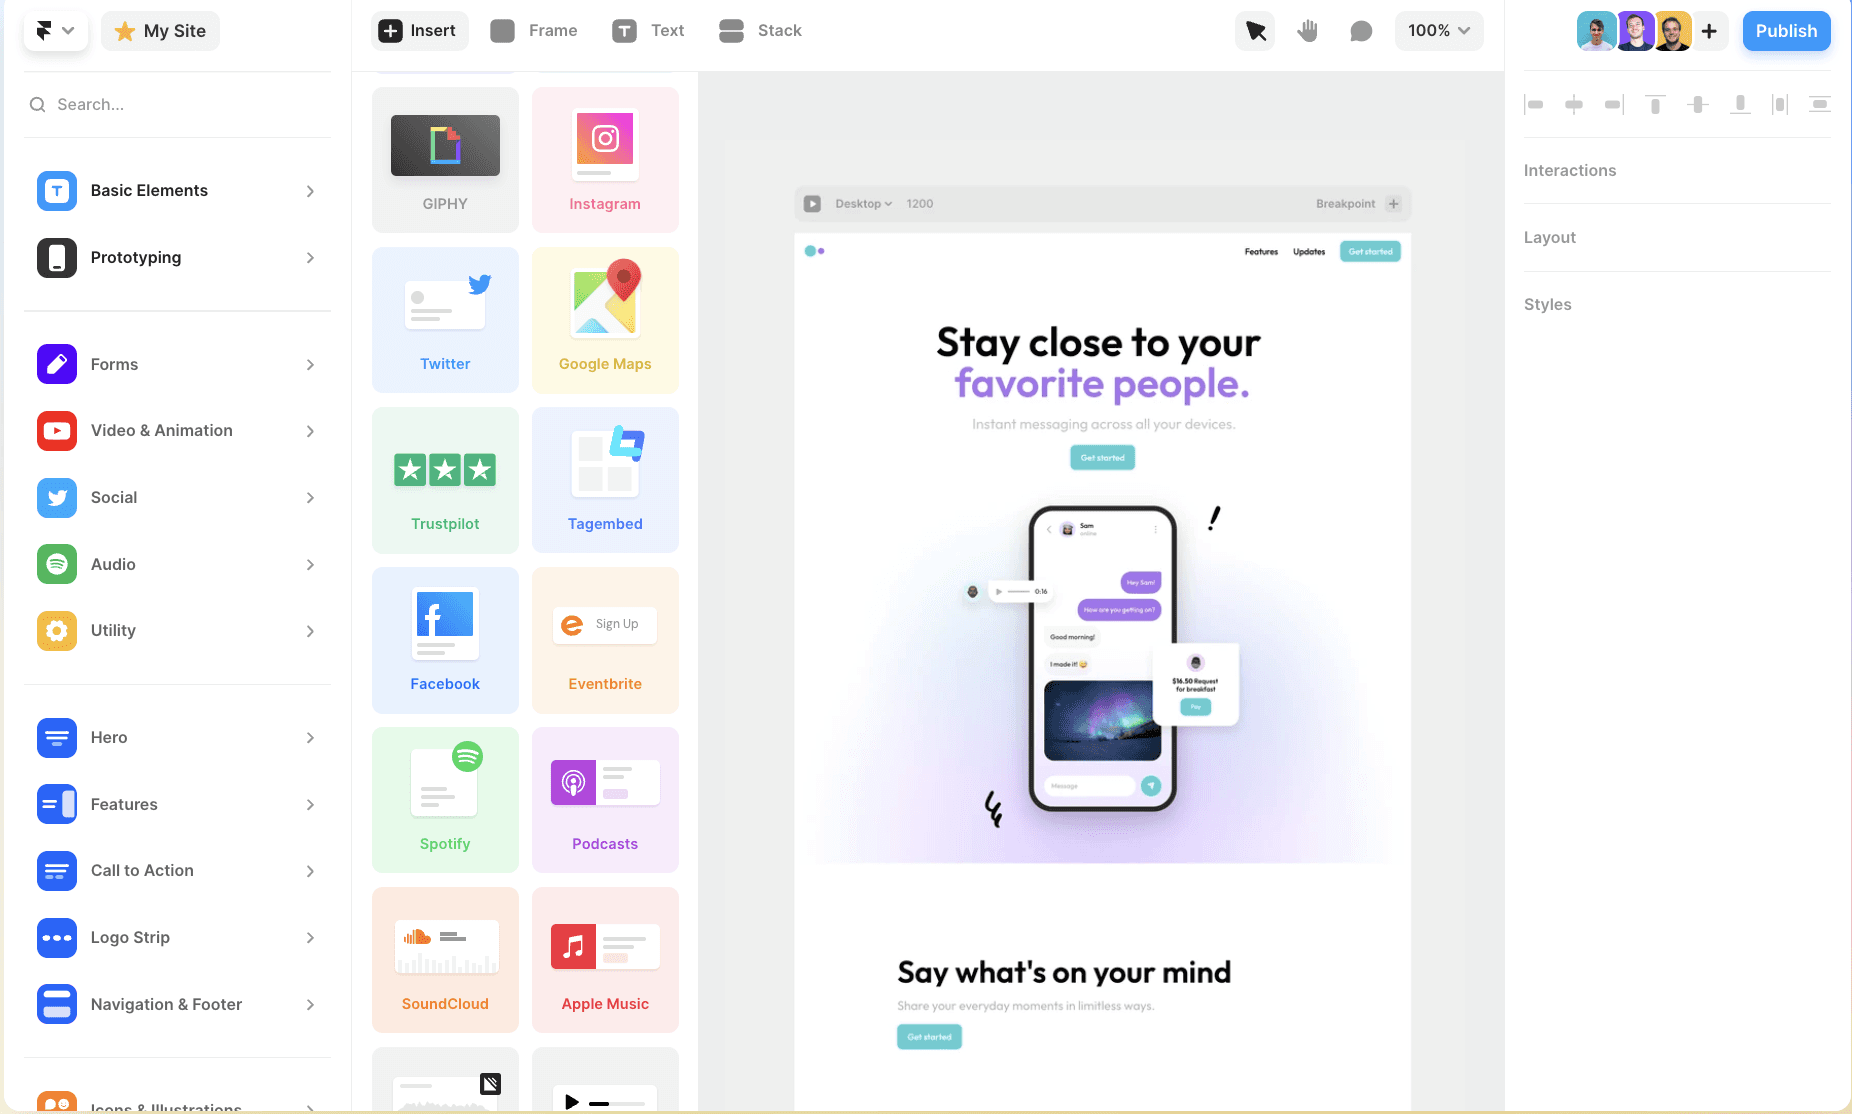
Create a new frame: To create a new frame, go to Frame > New Frame. You can choose from various frame types, such as a blank frame, a rectangle, or a user interface (UI) component.
Add elements to your frame: Once you have created a frame, you can start adding elements to it. You can add text, images, buttons, and other UI components to your frame.
Resize and position elements: To resize an element, select it and use the resizing handles to adjust its size. You can also use the alignment tools to position elements accurately.
Add interactions: Framer lets you add hover effects, click animations, scroll-based transitions, and page navigation directly in the editor. Select an element, open the interactions panel, and choose from built-in animation presets or build custom transitions. For deeper coverage, see our guide to interactive designs in Framer.
Preview your site: Click the "Preview" button in the top-right to see exactly how your page will look when published. You can toggle between desktop, tablet, and mobile views to check responsiveness before going live.
Working with Layers
The layers panel (left side of the editor) shows every element on your page in a hierarchical tree. Keeping layers organized is critical for maintaining clean, manageable websites, especially as your pages grow in complexity.
Creating layers: Every element you add to the canvas (frames, text, images, buttons) automatically appears as a layer. You can also group layers by selecting multiple elements and pressing Cmd/Ctrl + G. Groups help you organize related elements like a navigation bar or a card component.
Renaming layers: Double-click any layer name in the panel to rename it. Use clear, descriptive names (e.g., "Hero Section," "CTA Button," "Footer Nav") so you and your team can find elements quickly.
Reordering layers: Drag layers up or down in the panel to change their stacking order. Elements higher in the list appear in front of elements below them on the canvas.
Hiding layers: Click the eye icon next to a layer to toggle visibility. This is useful when you need to work on elements that overlap, or when building complex sections with many stacked components.
Duplicating layers: To duplicate a layer, select it and go to Layer > Duplicate Layer. This is useful when you want to create a copy of a layer and make changes to it without affecting the original.
Talk to our Framer Agency experts to setup your Framer website.
Working with Frames
Frames are the fundamental building blocks of every Framer website. A frame is a container that holds other elements (text, images, buttons, other frames). Think of frames as the div elements in HTML. Every section, card, button, and layout on your site is built with frames.
Creating frames: Press F on your keyboard or click the Frame tool in the toolbar. Click and drag on the canvas to draw a frame. You can also select a device preset (Desktop, Tablet, Mobile) from the properties panel to set a starting width.
Resizing frames: To resize a frame, select it and use the resizing handles to adjust its size. You can also use the keyboard shortcuts to resize a frame quickly.
Moving frames: To move a frame, select it and use the arrow keys on your keyboard to move it around the canvas.
Duplicating frames: To duplicate a frame, select it and go to Frame > Duplicate Frame. This is useful when you want to create a copy of a frame and make changes to it without affecting the original.
Deleting frames: To delete a frame, select it and go to Frame > Delete Frame. Be careful when deleting frames, as this action is permanent and cannot be undone.
Book a free consulting call with Goodspeed
Working with Text
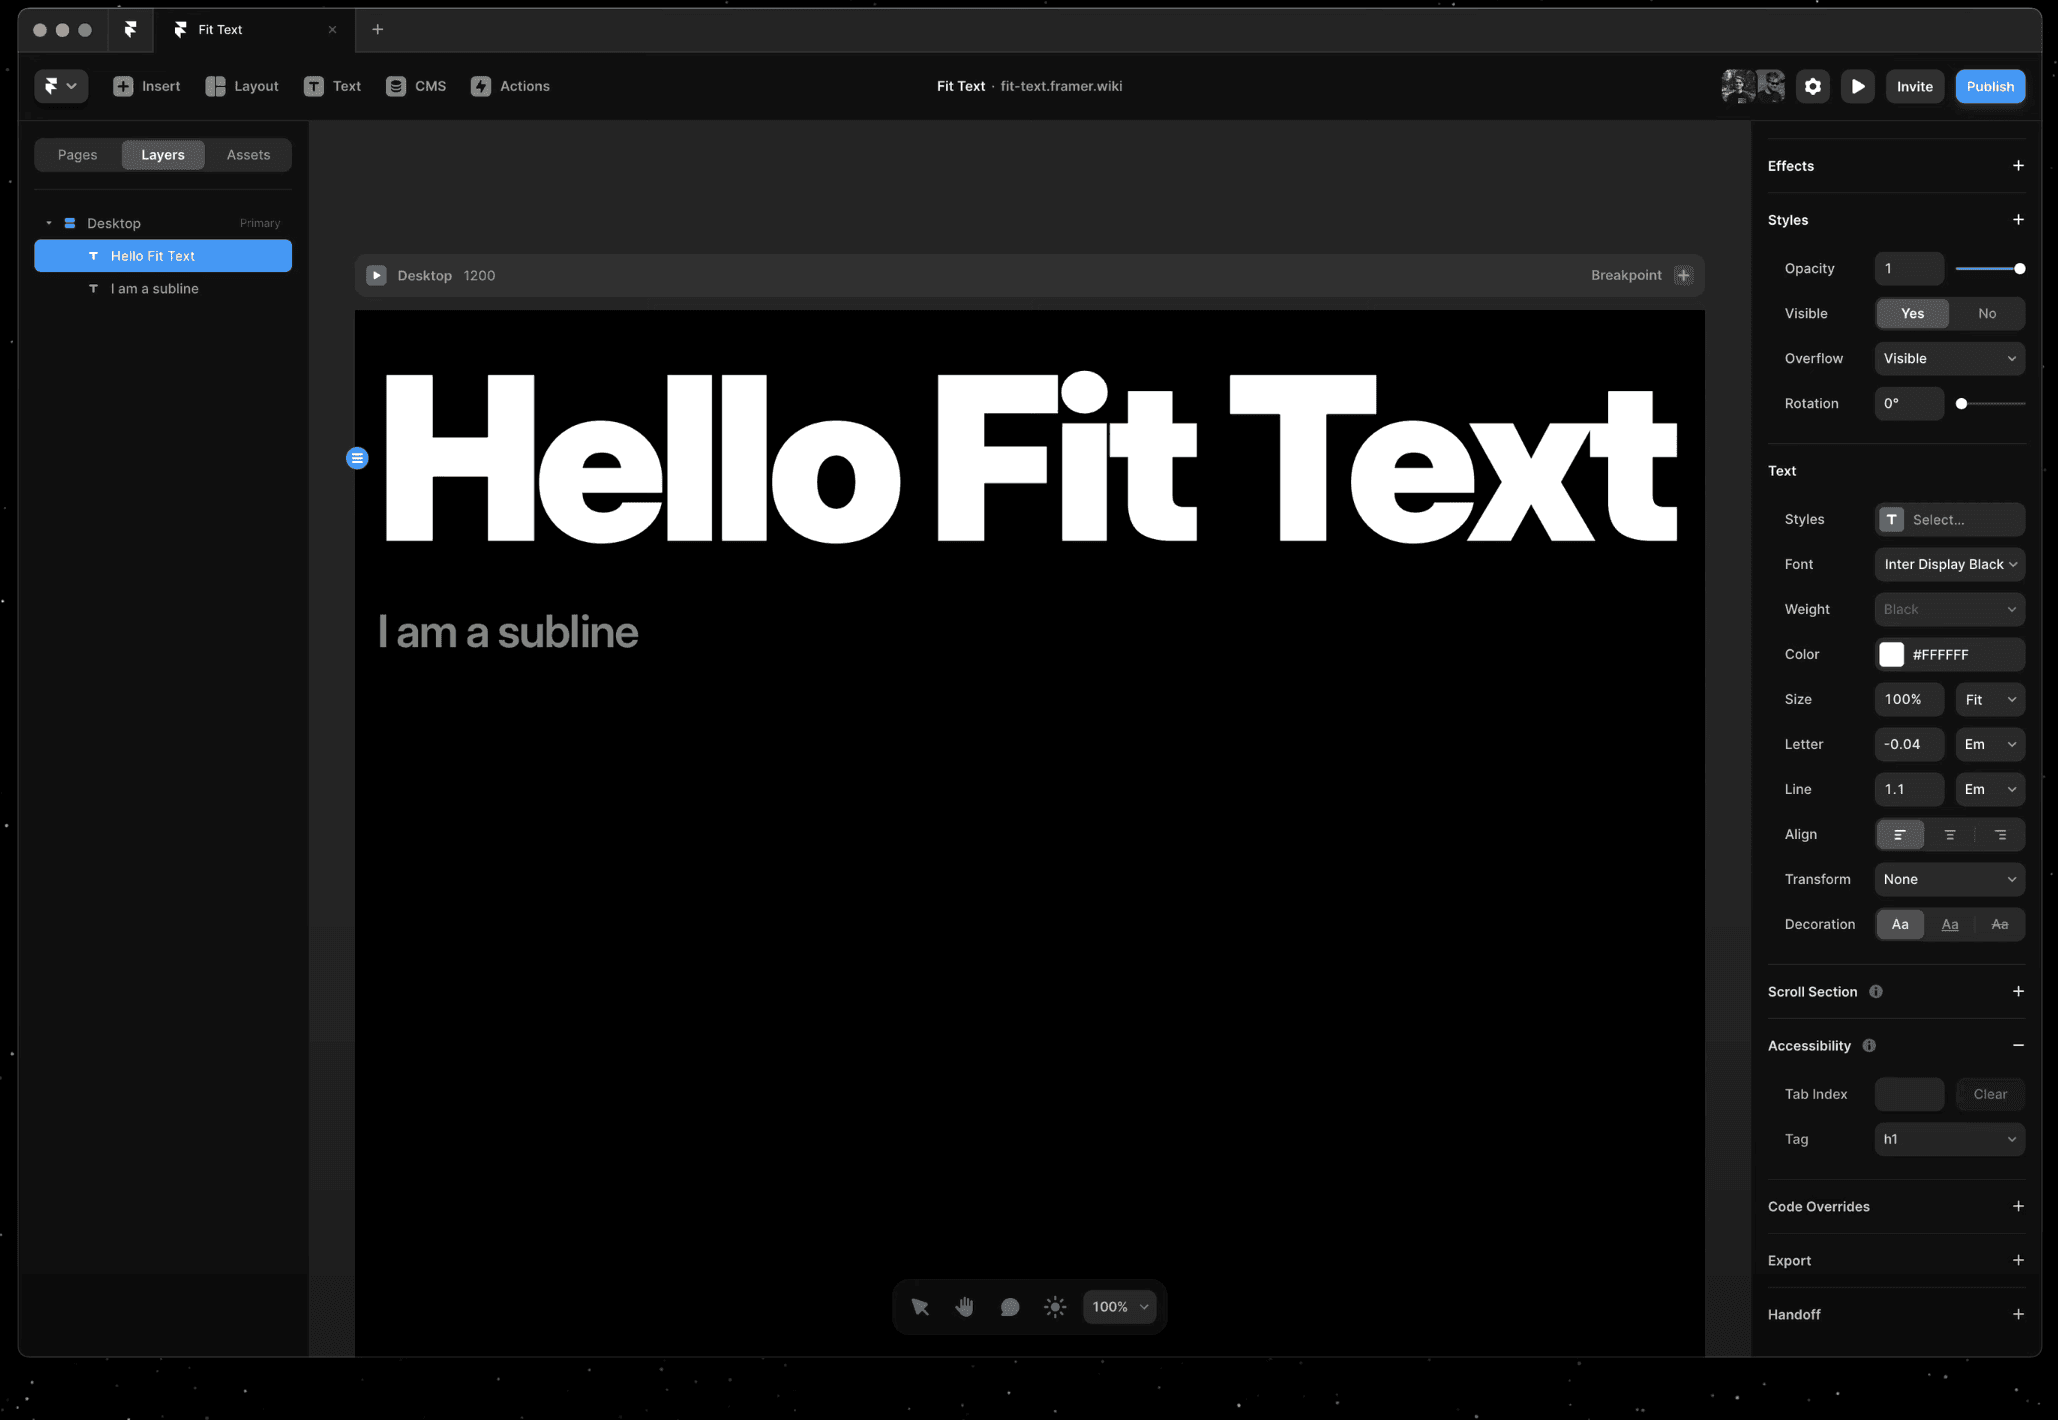
Text is a crucial element in most designs, and Framer makes it easy to work with text. Here are the basics of working with text in Framer:
Adding text: To add text to your design, go to Text > Add Text. You can choose from various text styles, such as a heading, subheading, or body text.
Editing text: To edit text, select it and use the text editing tools to change the text, font, size, color, and other properties.
Formatting text: Framer allows you to format text using various formatting options, such as bold, italic, underline, and strikethrough.
Adding links: To add a link to your text, select the text and go to Text > Add Link. You can then enter the URL of the link and choose the link style.
Adding text styles: Framer allows you to add various text styles, such as a drop shadow, stroke, or fill. You can also create your own custom text styles.
Working with Images
Images are a great way to enhance your design and make it more visually appealing. Here are the basics of working with images in Framer:
Adding images: To add an image to your design, go to Image > Add Image. You can choose from various image sources, such as your computer, a website, or a stock photo website.
Resizing images: To resize an image, select it and use the resizing handles to adjust its size. You can also use the keyboard shortcuts to resize an image quickly.
Cropping images: To crop an image, select it and go to Image > Crop. You can then adjust the crop bounds to remove unwanted parts of the image.
Adding image filters: Framer allows you to add various image filters, such as a blur, brightness, or contrast adjustment.
Adding image styles: Framer allows you to add various image styles, such as a drop shadow, stroke, or fill. You can also create your own custom image styles.
Working with Page Links and Navigation
Framer websites are made up of pages, and you connect them through links and navigation elements.
Creating pages: In the pages panel (top-left), click "+" to add new pages. Each page gets its own URL path (e.g., /about, /pricing, /blog). Organize pages into folders for cleaner site structure.
Adding navigation: Use the built-in Nav component or build a custom navigation bar using frames and text links. Link each nav item to the corresponding page. Framer includes a pre-built navigation component with desktop and mobile menu support.
Linking elements: Select any element, open the Link panel in properties, and choose a destination: another page, an external URL, a section on the same page (anchor links), an email address, or a phone number.
Testing navigation: Use Preview mode to click through your full site. Test every link, check that mobile menu toggles work, and verify that page transitions feel smooth. For more on navigation and interactions, see our Framer tutorial.
Working with Collaborators
Framer makes it easy to collaborate with others on your designs. Here are the basics of working with collaborators in Framer:
Inviting collaborators: Click the "Share" button in the top-right of the editor. Enter email addresses to invite team members. You can set each person's role: Editor (full access), Viewer (can comment), or Developer (code access).
Collaborator permissions: Framer offers different permission levels for collaborators, such as editor, commenter, or viewer. You can choose the appropriate permission level for each collaborator, depending on their role in the project.
Real-time collaboration. Multiple team members can work in the same project simultaneously. You see each other's cursors and edits live, similar to Google Docs or Figma. This eliminates version conflicts and speeds up feedback cycles.
Leaving comments: Framer allows you to leave comments on designs and prototypes. You can use this feature to communicate with your collaborators and provide feedback on their work.
Book a free consulting call with Goodspeed
Working with Plugins
Framer offers a wide range of plugins that can enhance your design and prototyping experience. Here are the basics of working with plugins in Framer:
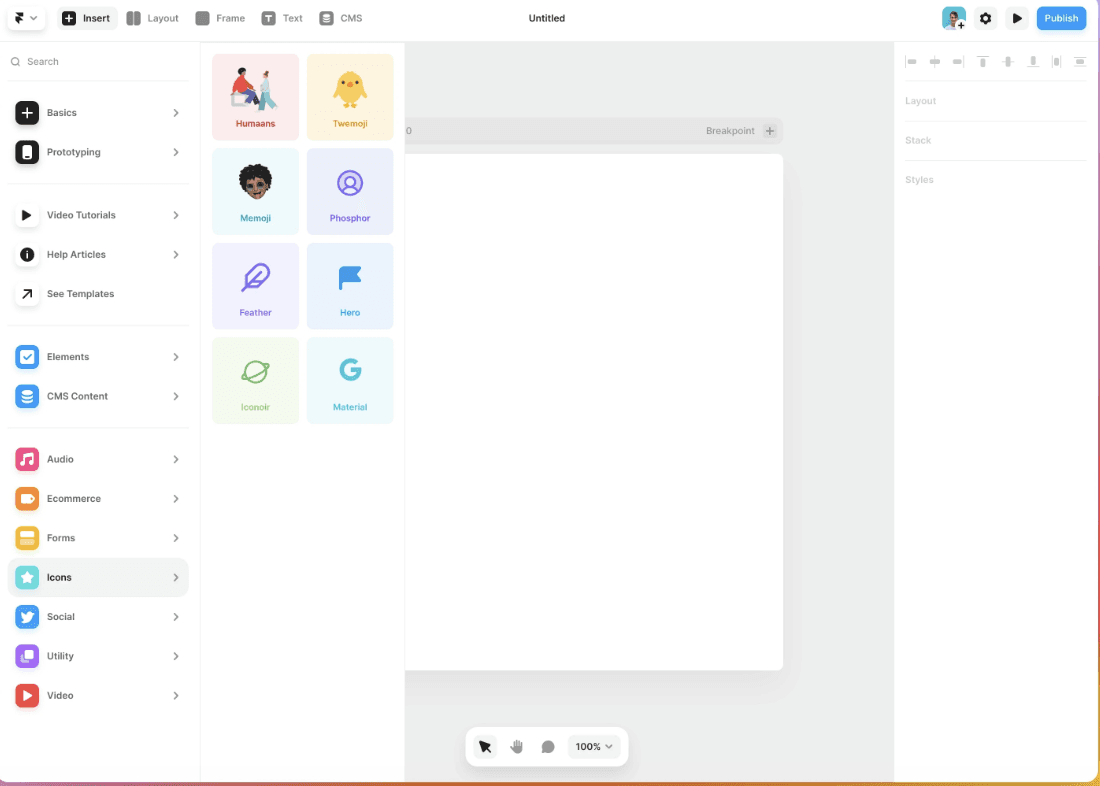
Installing plugins: To install a plugin, go to Plugins > Install Plugin. You can then choose the plugin you want to install and follow the installation instructions.
Using plugins: Once you've installed a plugin, you can use it in your design or prototype. Plugins can add new features, such as animation, interactions, or design elements.
Managing plugins: You can manage your installed plugins by going to Plugins > Manage Plugins. You can then enable or disable plugins, as well as update them to the latest version.
Working with Version Control
Framer allows you to use version control to keep track of changes to your designs and prototypes. Here are the basics of working with version control in Framer:
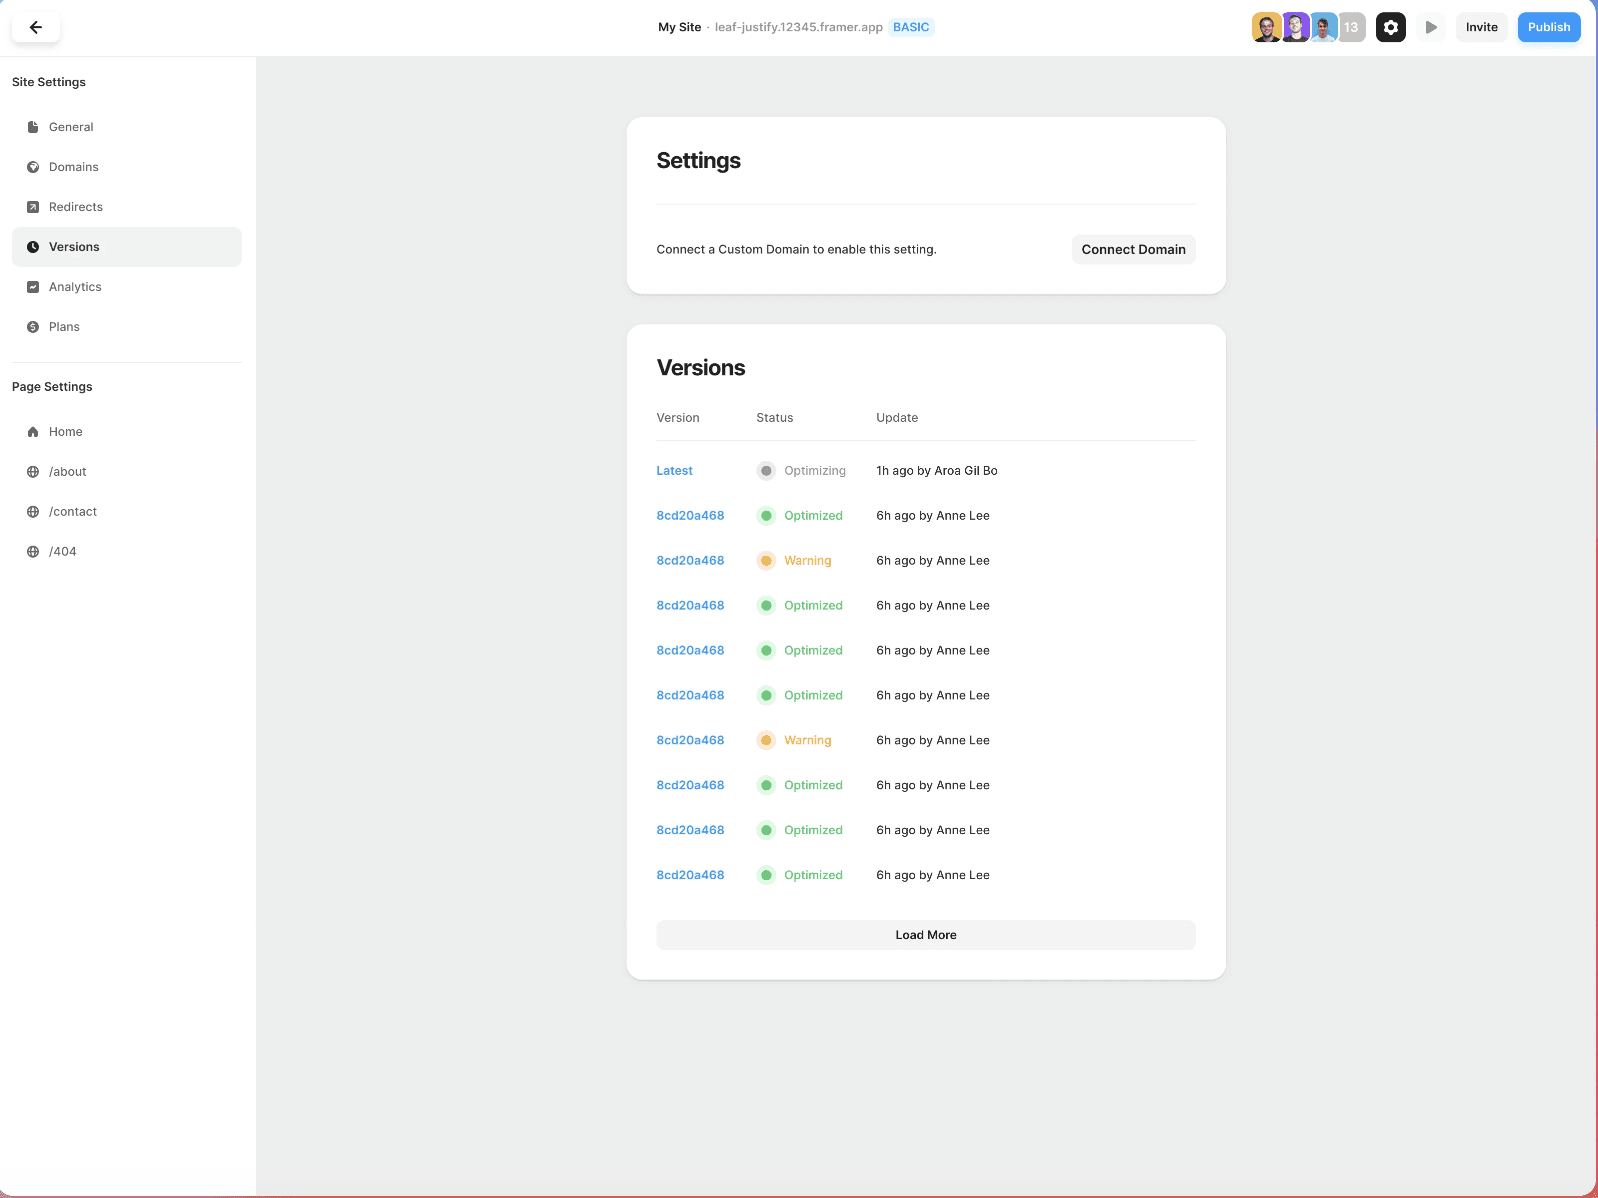
Creating a version: Framer automatically saves version history for your project. You can manually create named checkpoints before making major changes. This gives you a safety net if you need to roll back.
Naming versions: Give each checkpoint a clear name (e.g., "Before CMS migration," "Post-redesign v2") so you can identify what changed at each stage.
Comparing versions: Framer allows you to compare different versions of your design or prototype. You can use this feature to see what changes were made between versions.
Reverting to a previous version: If you need to revert to a previous version, you can do so by going to File > Revert to Previous Version. You can then choose the version you want to revert to and confirm the action.
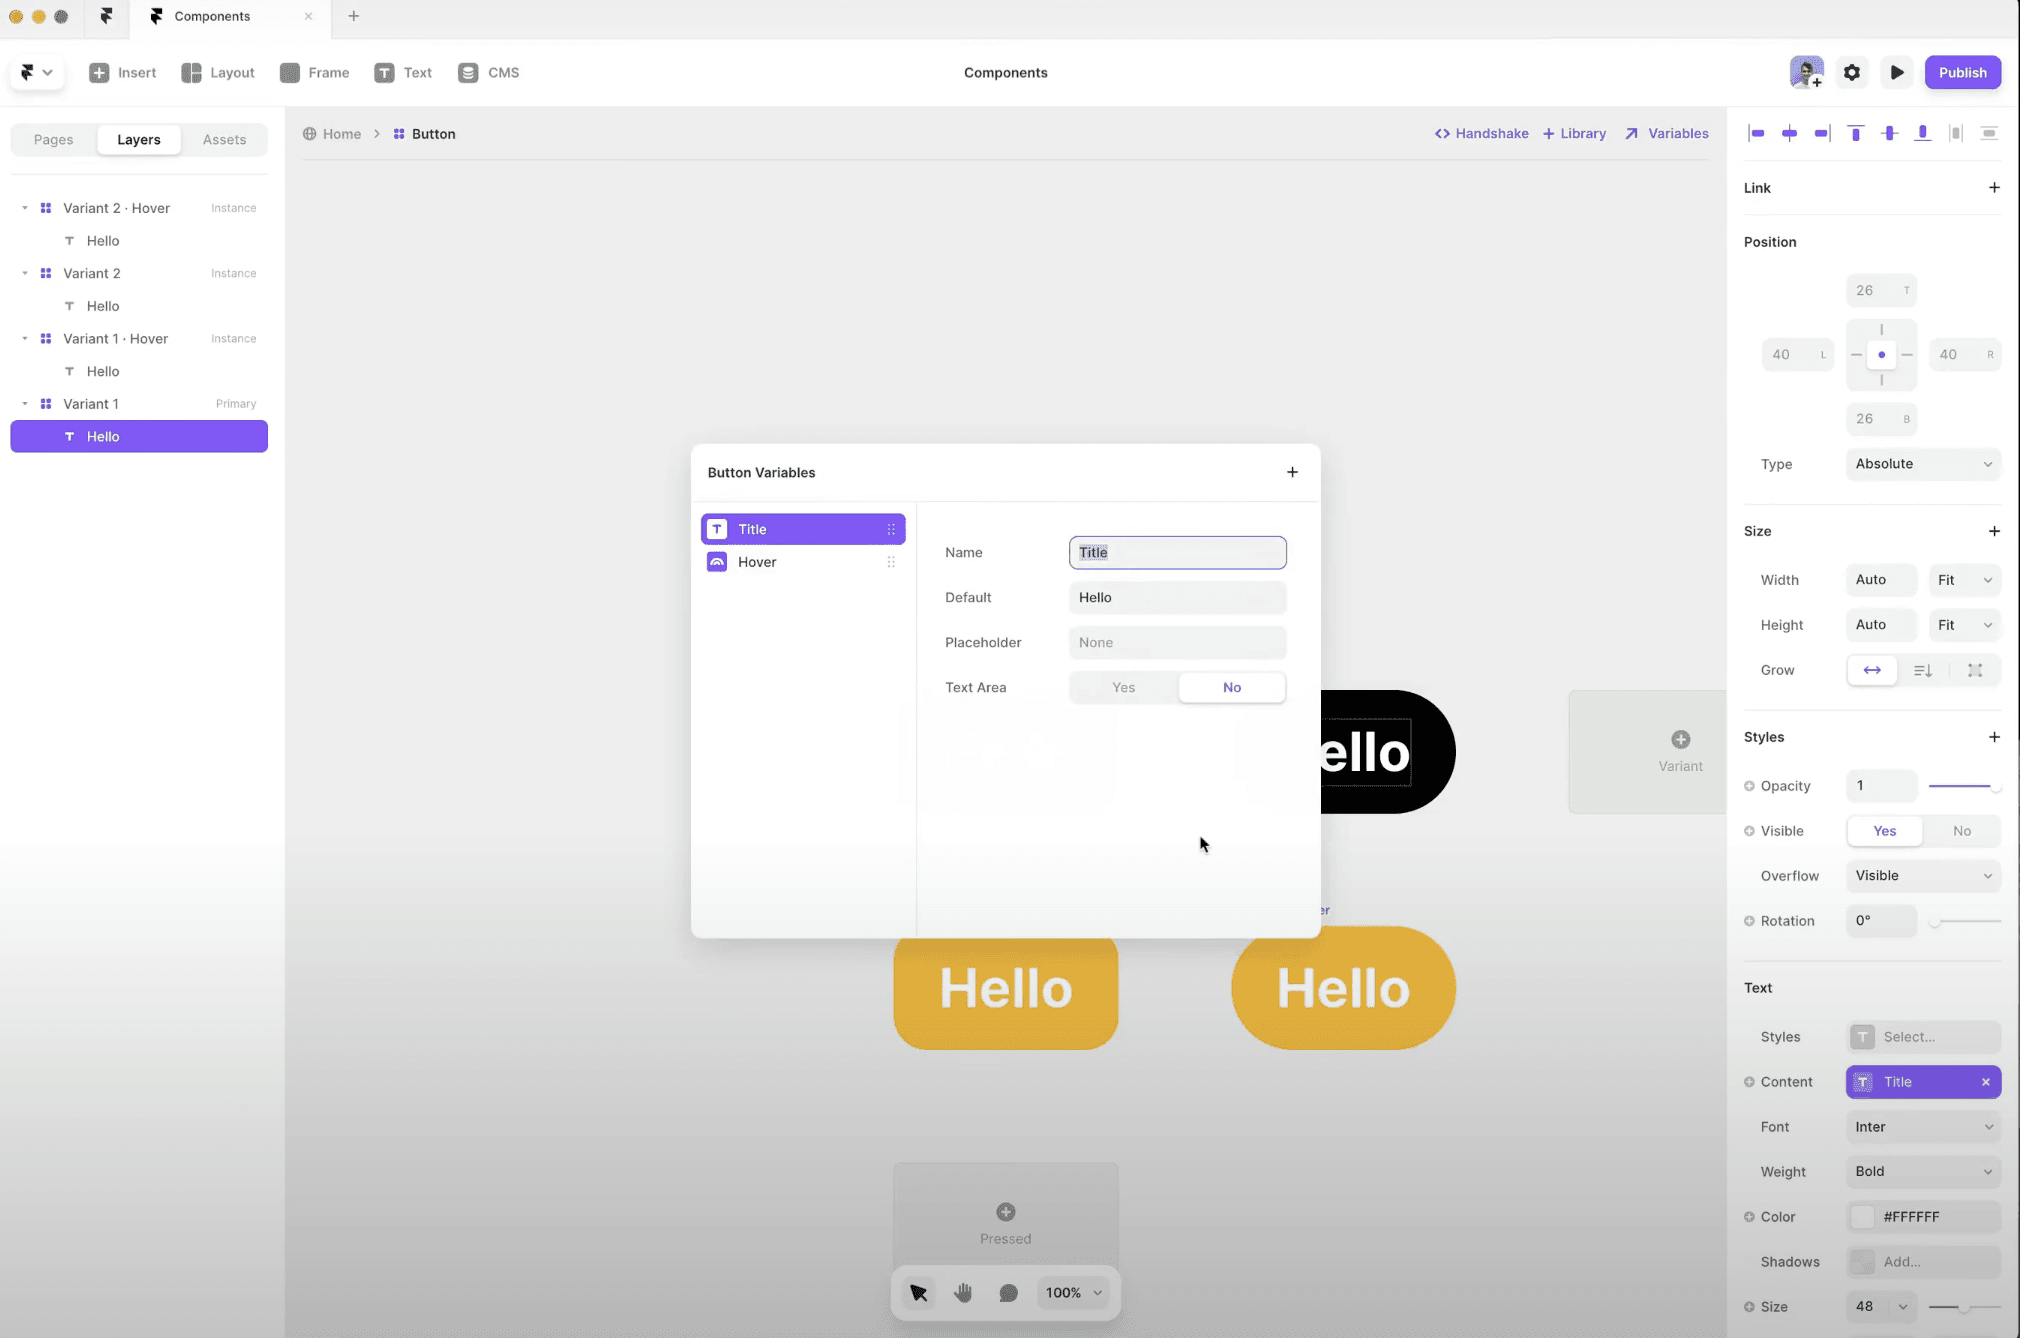
Working with Components
Components are reusable design elements that keep your website consistent and maintainable. Create a component once (like a button, card, or navigation bar) and reuse it across every page. When you update the component, every instance updates automatically. For a deeper dive, see our guide to Framer components and libraries.
Here are the basics of working with symbols in Framer:
Creating components: Select any element or group of elements, right-click, and choose "Create Component" (or press Cmd/Ctrl + Alt + K). Name it clearly (e.g., "Primary Button," "Testimonial Card," "Footer"). Components appear in your Assets panel for reuse.
Using components: Open the Assets panel and drag any component onto your canvas. Each instance is linked to the master component. You can override specific properties (like text or images) per instance while keeping the overall structure synced.
Editing components: Double-click any component instance to enter the master component editor. Changes you make here apply to every instance across your site. This is how you maintain brand consistency at scale.
Organizing components: As your component library grows, use folders in the Assets panel to categorize them (e.g., Navigation, Cards, Buttons, Forms). Well-organized components speed up development and make it easier for team members to find what they need.
Book a free consulting call with Goodspeed
Working with Events
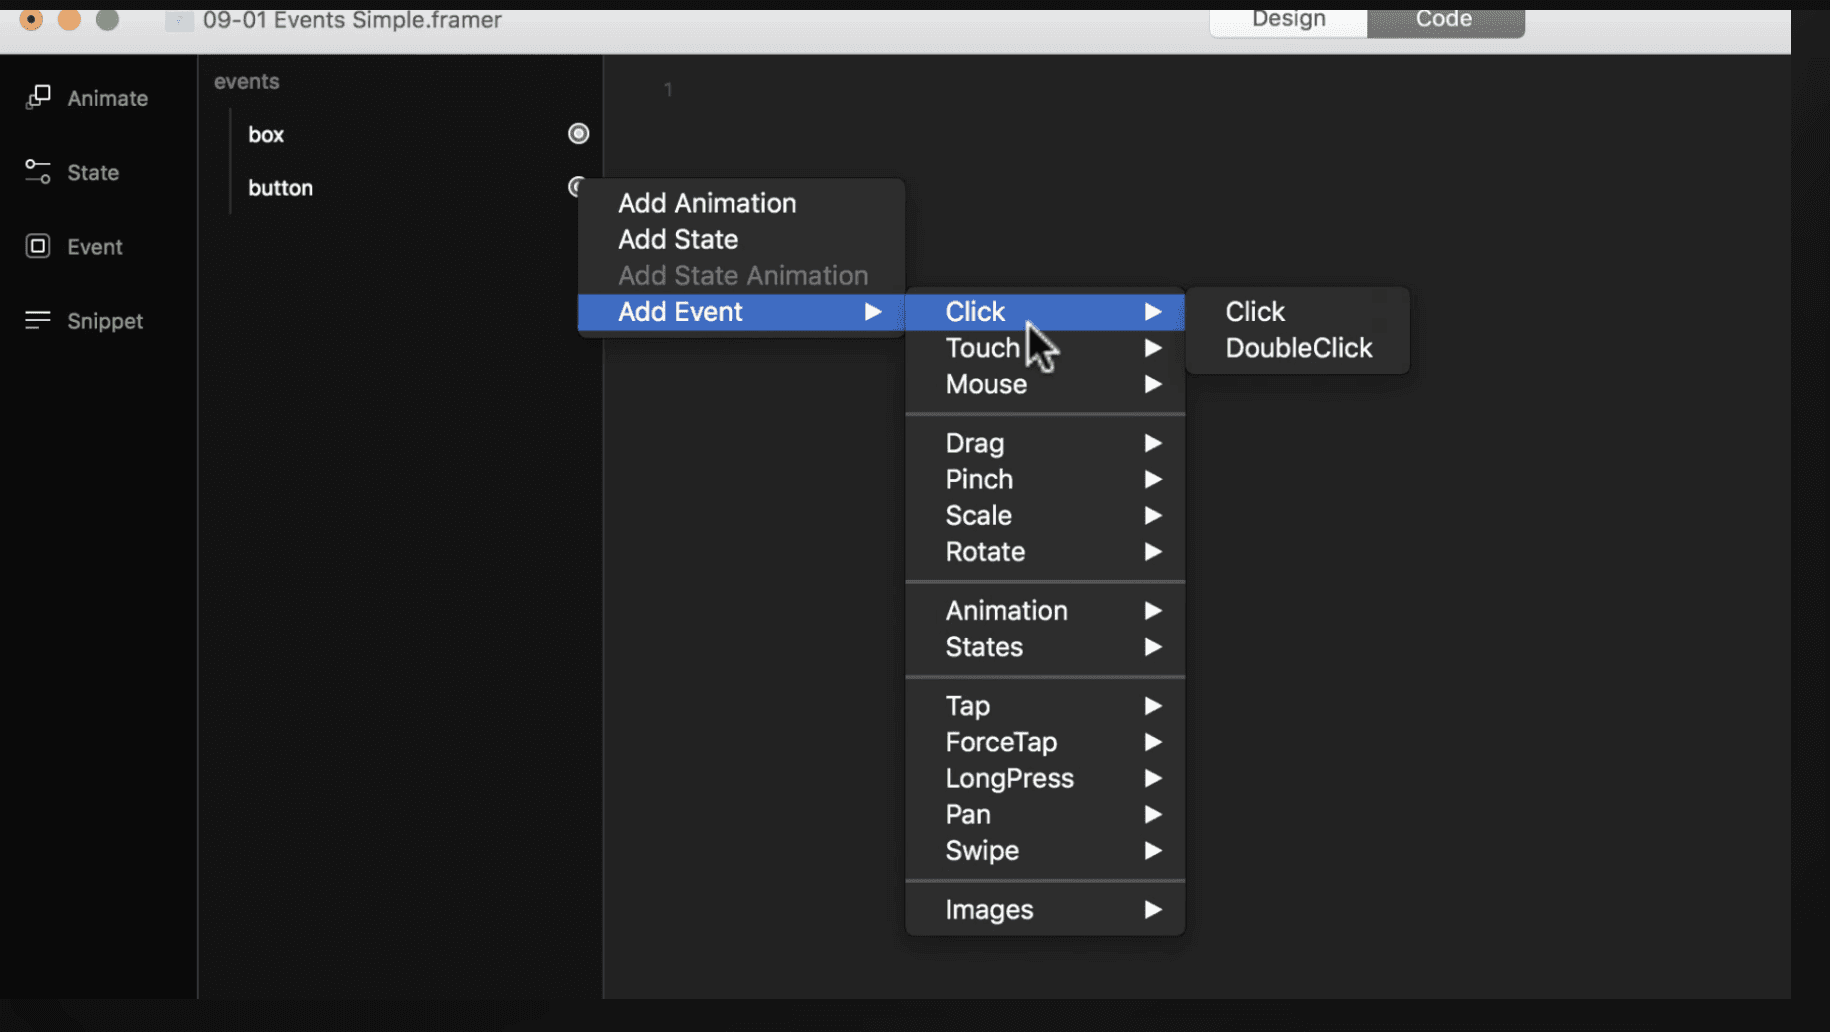
Events allow you to respond to user interactions with your designs. In Framer, you can create events that trigger when a user clicks, taps, or hovers over an element. This can help you create interactive and engaging designs.
Here are the basics of working with events in Framer:
Creating events: To create an event, select the element you want to trigger the event and go to Event > New Event. You can then choose the type of event you want to create, such as a click or tap event.
Setting up event listeners: Once you've created an event, you need to set up an event listener. This tells Framer what action to take when the event is triggered. You can do this by selecting the element that should respond to the event and going to Event > Add Event Listener.
Using actions: Actions are the responses that occur when an event is triggered. You can choose from various actions, such as navigating to a new frame, showing a notification, or updating a variable.
Testing events: To test your events, you can use Framer's built-in testing tools. This allows you to simulate user interactions and see how your design responds.
You can watch this video tutorial for working with Events on Framer.
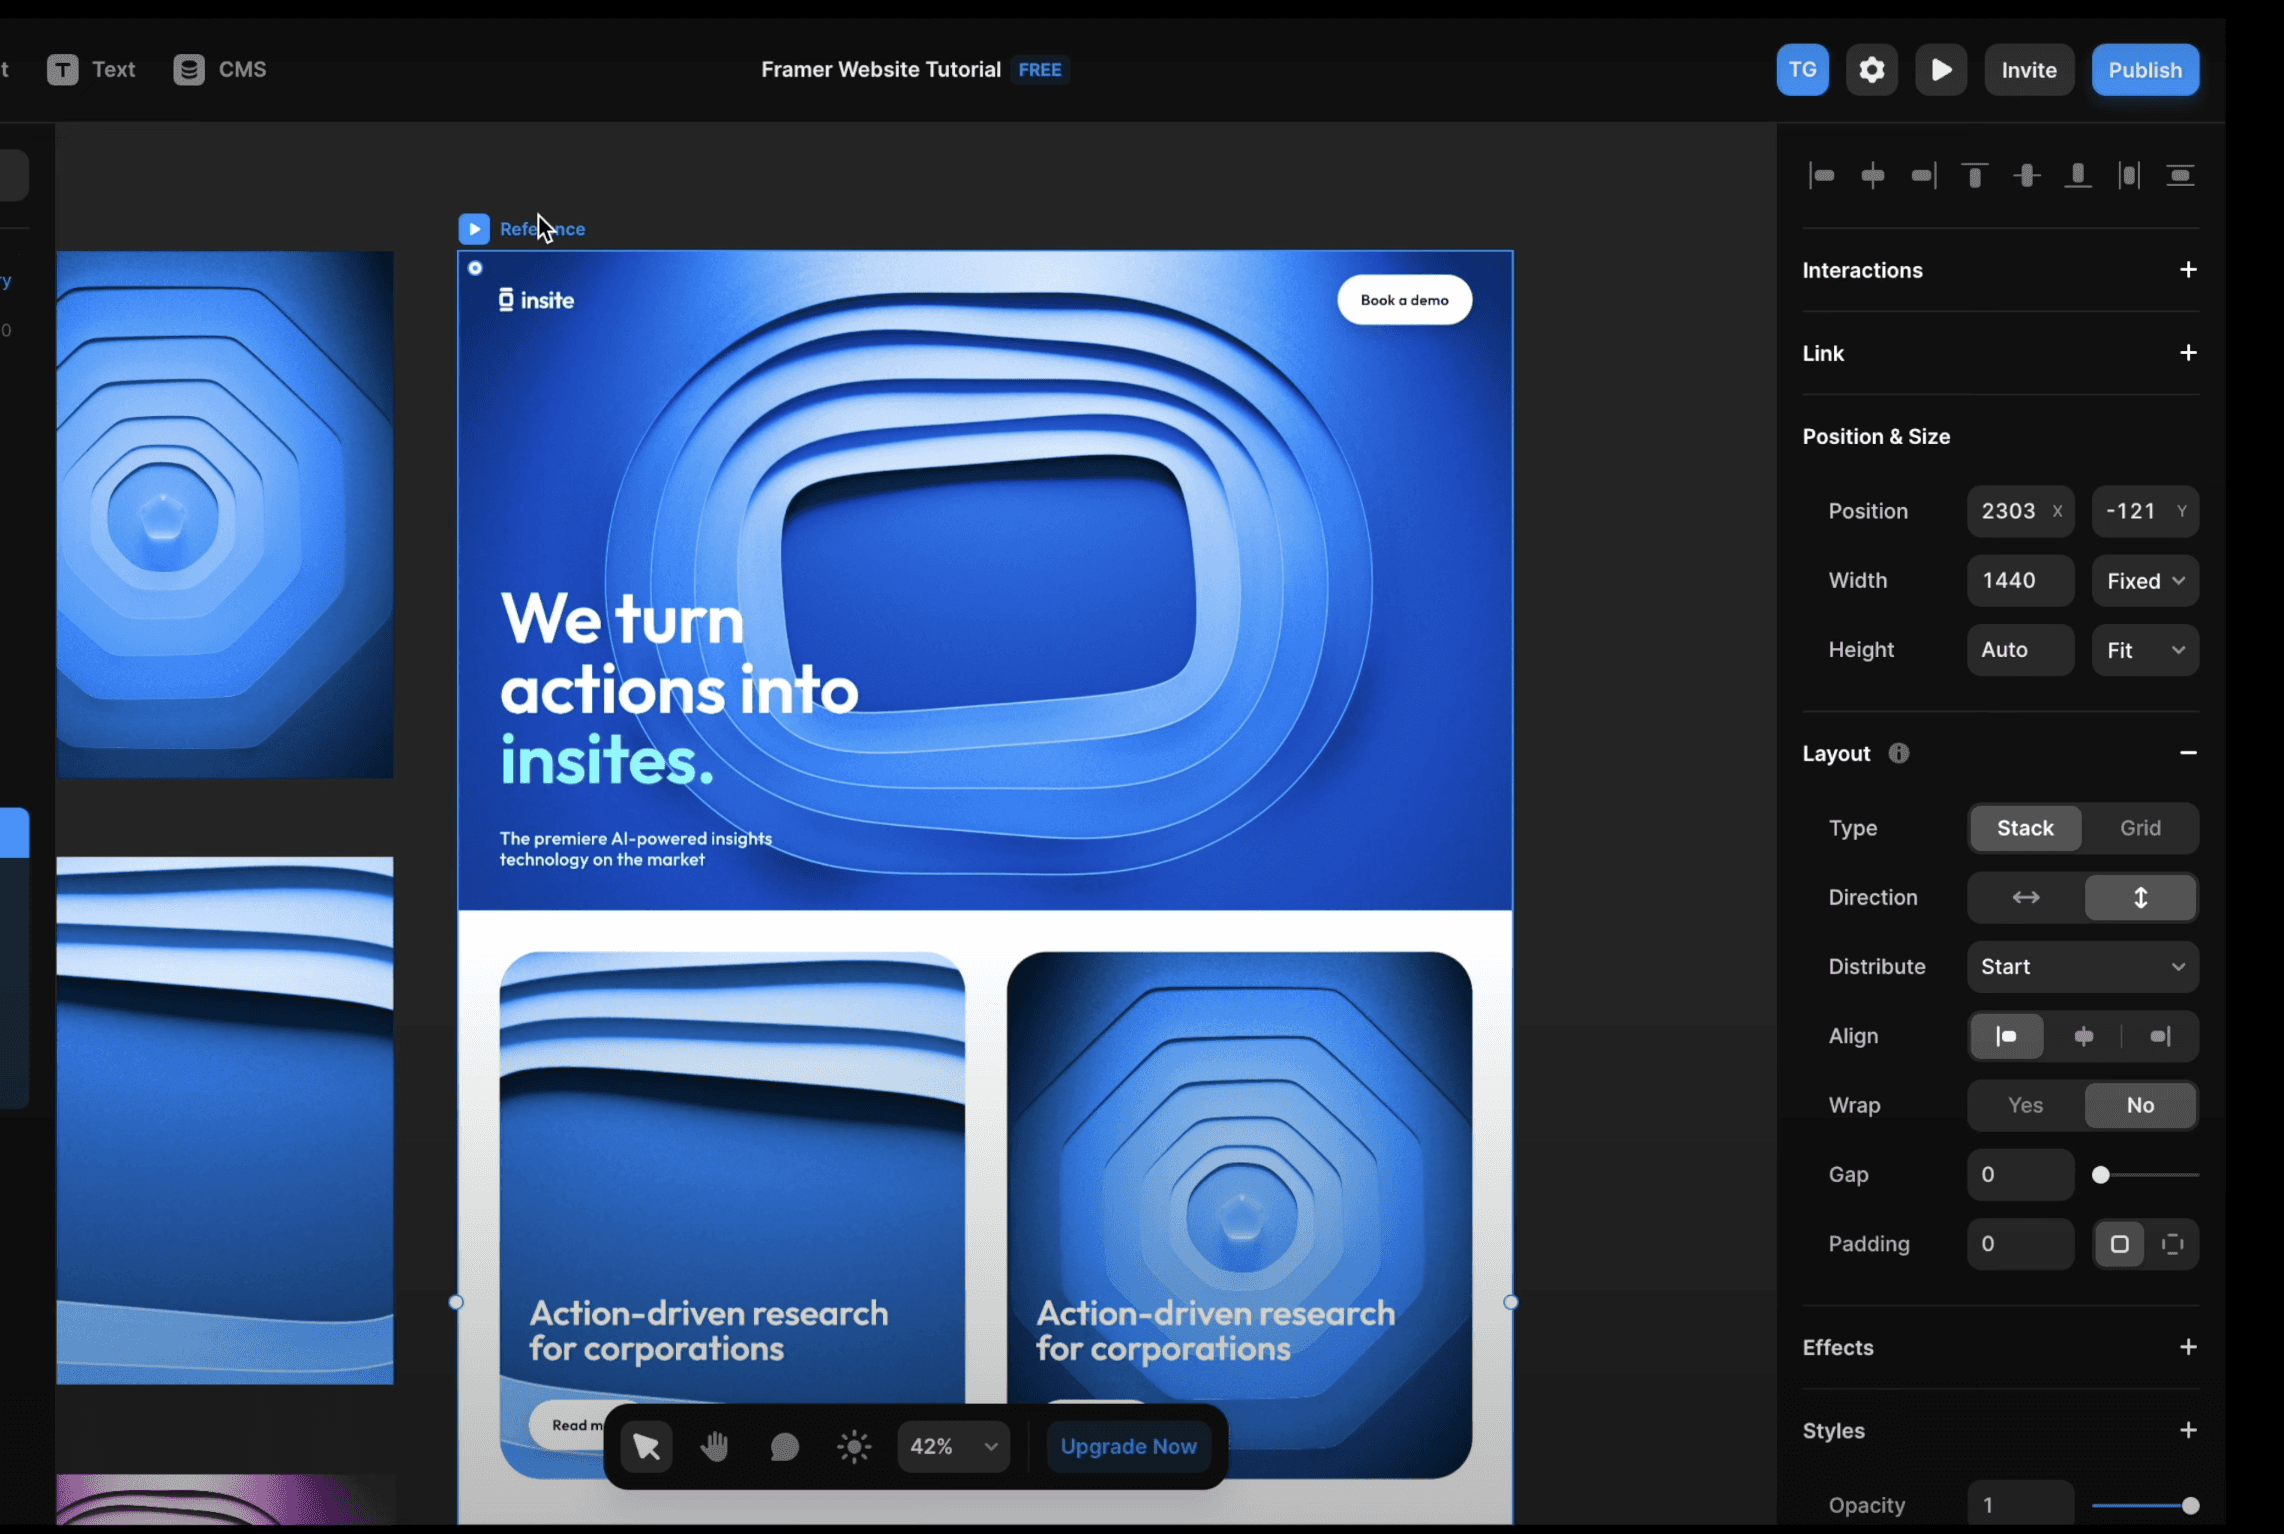
Working with Constraints

Constraints allow you to control the size and position of your elements. In Framer, you can use constraints to create responsive designs that adapt to different screen sizes and orientations.
Here are the basics of working with constraints in Framer:
Creating constraints: To create a constraint, select the element you want to constrain and go to Constraint > New Constraint. You can then choose the type of constraint you want to create, such as a horizontal or vertical constraint.
Setting constraint values: Once you've created a constraint, you need to set its value. This determines how the element will be positioned or sized. You can do this by dragging the constraint handle or entering a value in the constraint panel.
Working with Animations
Animations can be used to add visual interest and interactivity to your designs. In Framer, you can create animations using the Animation panel.
Here are the basics of working with animations in Framer:
Creating animations: To create an animation, select the element you want to animate and go to Animation > New Animation. You can then choose the type of animation you want to create, such as a fade in or a slide left.
Setting animation properties: Once you've created an animation, you can set its properties, such as the duration, delay, and easing. This will determine how the animation looks and behaves.
Adding animation triggers: You can add triggers to your animations to control when they start and end. For example, you can trigger an animation to start when a user clicks a button or hovers over an element.
Testing animations: To test your animations, you can use Framer's built-in testing tools. This allows you to simulate user interactions and see how your design responds.
Publishing Your Website
Launching well is harder than it looks: redirects, schema, sitemaps, CDN config, mobile QA. Our Framer development team handles production launches end-to-end including the bits most tutorials skip. Worth a chat if your launch matters.
Framer handles hosting for you. When your site is ready, publishing takes one click.
Publish to a free subdomain. Click "Publish" in the top-right corner. Your site goes live at yourproject.framer.website. This is free and instant, good for testing and sharing drafts.
Connect a custom domain. In project settings, add your own domain (e.g., yourcompany.com). Framer provides DNS instructions, and once configured, your site is live on your domain with automatic SSL. See Framer pricing for plan requirements.
Configure SEO settings. Before publishing, set your page title, meta description, and OG image for each page. Framer generates a sitemap automatically. For more on SEO in Framer, see our Framer SEO plugins guide.
Staging vs. production. Framer lets you preview changes before pushing them live. Use the staging environment to test updates, then publish when you are confident everything works.
The market for visual website builders is expanding. According to a Market.Us report, the AI-powered website builders market is projected to grow from $3.17 billion in 2023 to $31.5 billion by 2033. Framer is positioned at the center of this shift, combining AI-assisted design with a full publishing and CMS platform.
Need a head start? Browse our Framer waitlist template, production-ready and built for fast SaaS launches.
Start Building with Framer. Goodspeed Can Help.
Framer in 2026 is not the prototyping tool it used to be.
It is a full website builder with a visual editor, built-in CMS, responsive breakpoints, animations, and one-click publishing.
If you have used Figma, the learning curve is minimal. If you have not, the drag-and-drop interface is intuitive enough to get your first site live in an afternoon.
The best way to learn Framer is to build something real. Start with a simple landing page. Add a few sections, connect a CMS collection for a blog, test it on mobile, and publish it. You will understand more in one afternoon of building than a week of reading tutorials.
And if you want a Framer site that is built for performance, SEO, and conversion from the start, Goodspeed's Framer team can help. We have designed and shipped sites for startups, SaaS companies, and agencies across every industry.
Book a free consultation and let's build something worth visiting.

Harish Malhi
Founder of Goodspeed
Harish Malhi is the founder of Goodspeed, one of the top-rated Bubble agencies globally and winner of Bubble’s Agency of the Year award in 2024. He left Google to launch his first app, Diaspo, built entirely on Bubble, which gained press coverage from the BBC, ITV and more. Since then, he has helped ship over 200 products using Bubble, Framer, n8n and more - from internal tools to full-scale SaaS platforms. Harish now leads a team that helps founders and operators replace clunky workflows with fast, flexible software without writing a line of code.
Frequently Asked Questions (FAQs)
Is Framer hard to learn?
No. If you have used Figma or Canva, Framer will feel familiar. The visual editor uses drag-and-drop with frames, components, and layers. Most beginners can build and publish a basic site in a few hours.
What can you build with Framer?
Production websites: landing pages, marketing sites, blogs, portfolios, SaaS sites, and company pages. Framer handles design, CMS, responsive layouts, animations, SEO, and hosting in one platform.
Is Framer free?
Framer offers a free plan with a .framer.website subdomain. Paid plans start at $5/month for custom domains, additional CMS items, and more pages. Business plans are available for teams and agencies.
How is Framer different from Figma?
Figma is a design tool for creating mockups and prototypes. Framer builds and publishes live websites. You design directly in the website builder, and what you see is what gets published. No handoff to developers required.
Can Framer handle blogs and dynamic content?
Yes. Framer has a built-in CMS with collections, fields, and template pages. You can create blog posts, case studies, team directories, or any dynamic content and manage it without a developer.
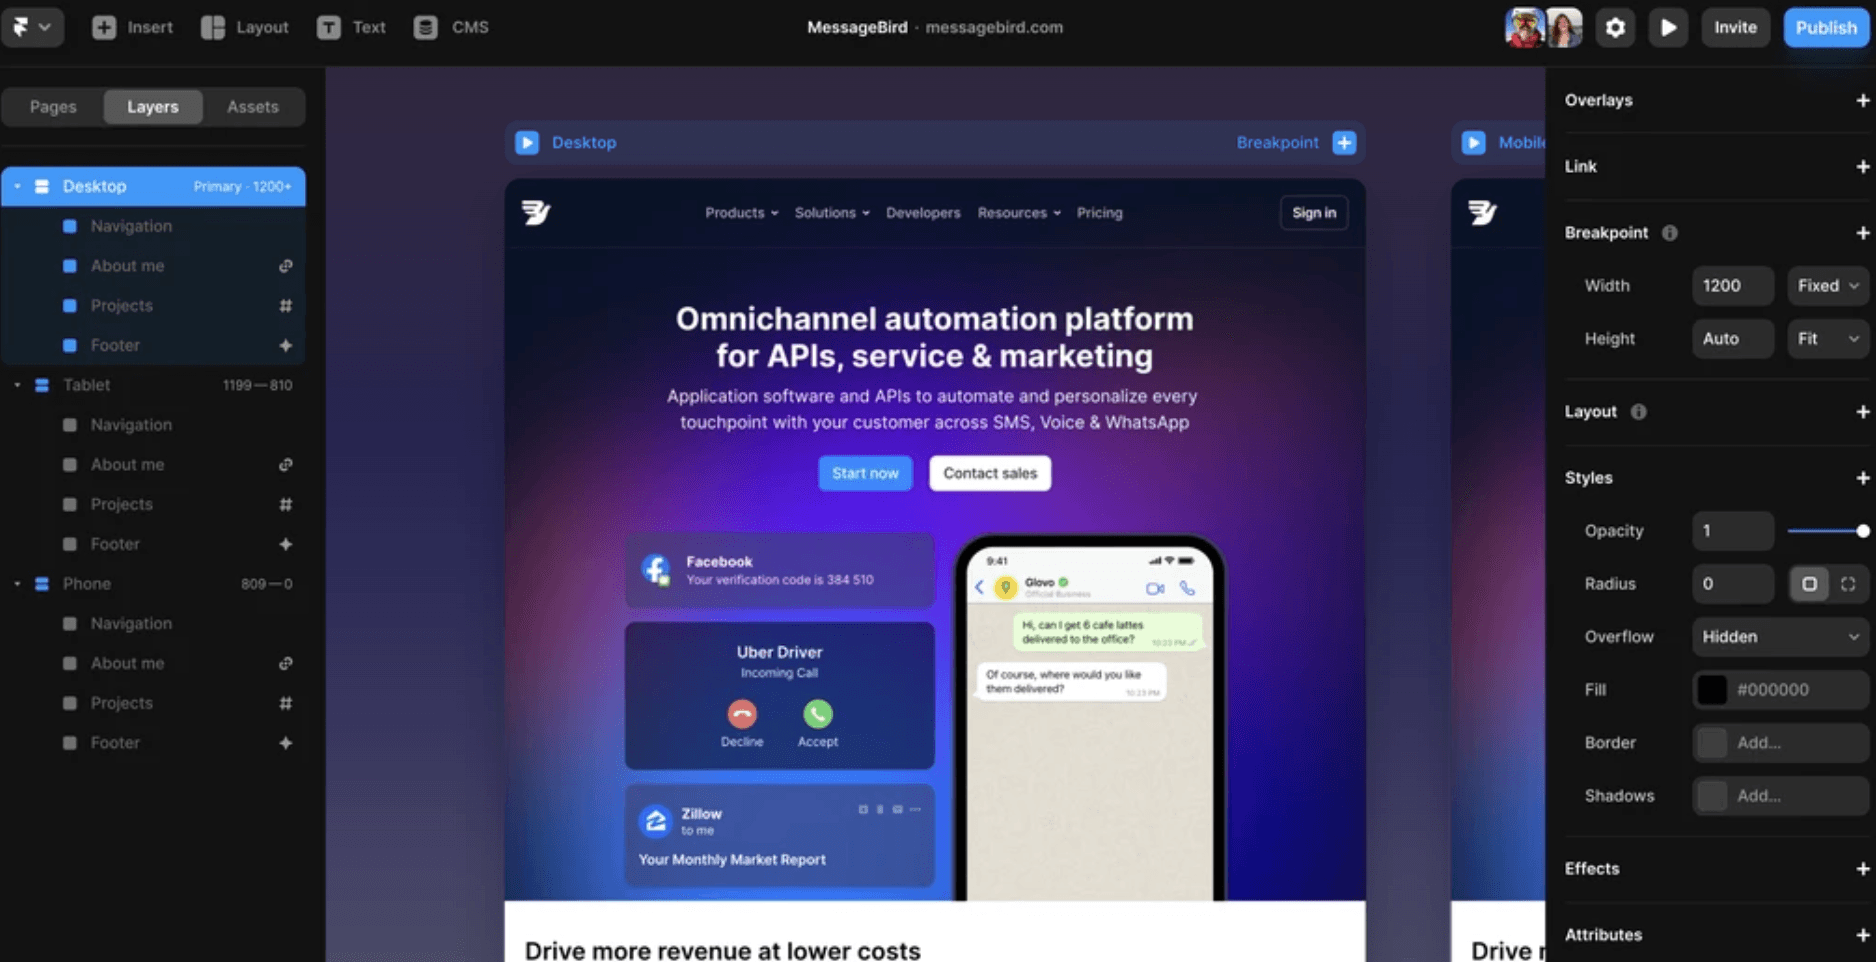
Does Framer support responsive design?
Yes. Framer uses breakpoints for desktop, tablet, and mobile. You design desktop-first, then adjust layouts and element sizes at each breakpoint. Preview mode lets you test on all screen sizes.
Can I use Framer for e-commerce?
Framer supports basic e-commerce through integrations. For full storefronts with inventory and checkout, platforms like Shopify are better suited. But for product landing pages, pricing pages, and lead generation, Framer works well.
Is Framer good for SEO?
Yes. Framer generates clean HTML, supports custom meta titles and descriptions, OG images, sitemap generation, and fast load times. It also includes built-in GDPR-compliant analytics.


